Welcome to Helix Stadium XL Floor and Helix Stadium Floor
Thank you for joining the ranks of Line 6® Helix® Stadium users; it's an elite group of musicians from rock stars touring (ahem) stadiums to weekend warriors to a veritable army of armchair producers who debate online the merits and deficiencies of guitar gear more than they use it. (We're not one to judge.)
The original Helix Floor was announced on June 11, 2015, and since then, Line 6 has produced many hundreds of thousands of Helix and HX® family products. Its wild popularity both on stage and in the studio has inspired other companies to replicate much of its design and feature set, but no other such device has been able to capture the magic of creating amazing tones at the speed of thought. Please see the following video for an introduction to Helix Stadium.
Helix Stadium XL Floor vs. Helix Stadium Floor
In many ways, Helix Stadium Floor is essentially the same as its bigger sibling, Helix Stadium XL Floor—both devices include exactly the same lists of Amp, Cab, and Effect models, (upcoming) Showcase™ automation and playback features, high resolution touchscreen display, number of onboard switches and knobs, USB audio and MIDI control support, and Helix Stadium computer application support. For those who prefer a more compact device and are not too particular about having the added Stadium XL features, such as OLED Scribble Strip footswitch labels, expanded onboard I/O, expression pedal, and additional external footswitch & pedal support, then the more compact Helix Stadium might be just the ticket. Please see the following video for a comparison.
Please also visit the Line 6 Helix Stadium Product Page for details.
What Have I Gotten Myself Into?
Sure, we could sit here and tell you Helix Stadium is the easiest guitar processor ever made. The truth is that "easiest" means different things to different people. Helix Stadium was designed to be fast and fun to use, with all its power at your fingertips, so you're not constantly digging into menus or tap-tap-tap-swipe-open-close-tapping on the touchscreen. However, to ensure you have the most fun and produce the best-sounding and best-feeling sounds, it's essential to understand a few key concepts. Some of these concepts apply to all digital multieffects, while others are specific to Helix Stadium.
The vast majority of content in this manual applies equally to Helix Stadium XL Floor and Helix Stadium Floor devices, but we'll typically use "Helix Stadium" to refer to both. Any features and information specific to Helix Stadium XL will be called out with the following icon: ![]()
🤔 What Do I Do First?
-
Upon initial startup of your Helix Stadium device, you’ll be presented with its Concierge Welcome screen, prompting you to proceed through the steps. Please see the next section.
-
Keep the included, large, colorful Helix Stadium XL Cheat Sheet or Helix Stadium Cheat Sheet on your desk. If you're not sure what a button or on-screen icon does, refer to it.
-
Read the rest of this Quick Start chapter—especially the sections below and the Simple Setup to get going.
-
Browse the latest available Helix Stadium videos for demos, tips & tricks, and be sure to keep checking back for the latest Stadium news.
-
Download and install the Helix Stadium application for your macOS or Windows® computer to remotely create, edit, import, and manage presets, import and manage IRs, and more.
Note: While reading this manual, you may encounter several unfamiliar terms, such as Matrix, Focus View, Marker, Snapshot, etc. If you are unsure what a term means, jump to the Glossary below.
Completing the Welcome Steps
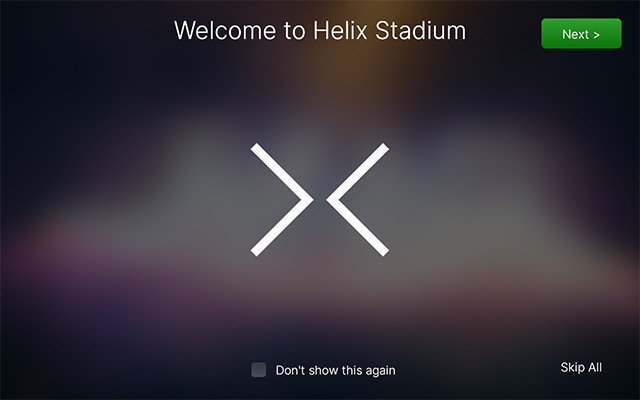
The first time you power up your Helix Stadium, you’ll be presented with the above Welcome screen, prompting you to follow its steps to set up your new device. While the Welcome steps are optional, we highly recommend you tap ![]()
Note: As an alternative to connecting your Stadium device to Wi-Fi, you can connect Stadium via USB-C® to your Internet-connected macOS or Windows computer and perform a firmware update using the free Line 6 Helix Stadium application. Please see the Updating Using the Helix Stadium Application section.
-
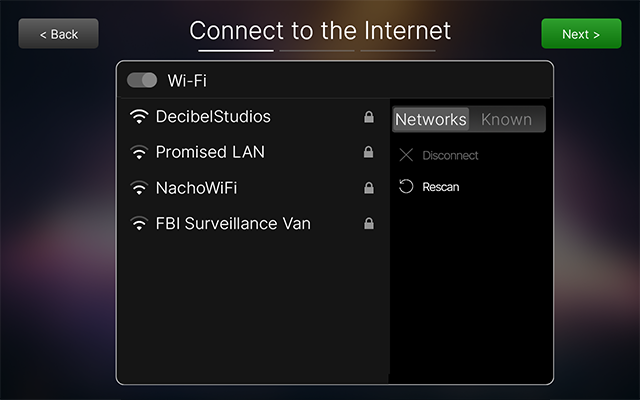
Connect to the Internet: Enable Wi-Fi


-
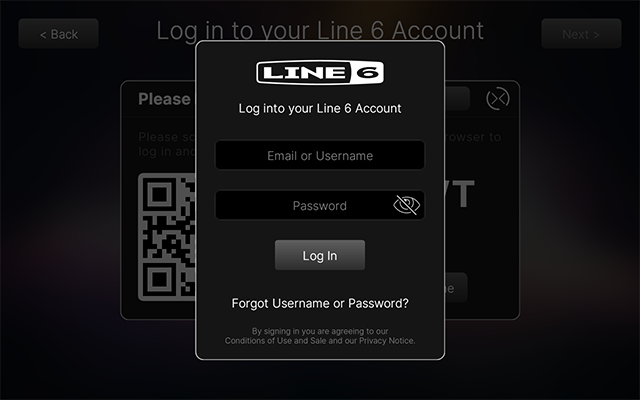
Log In to your Line 6 Account: On the Log In screen, there are three different methods offered for signing in to your Line 6 account. If you have not yet created a Line 6 account, you can do so using either of the first two methods below:

-
Using a mobile device, scan the QR code to proceed to the Line6.com webpage. Enter your Line 6 account email or username and password and log in. Once logged in via your mobile device, Helix Stadium’s screen automatically advances to the next step.
-
If you have not yet created a Line 6 account, complete the steps on the mobile web page to create one.
-
-
Using a computer or mobile device, manually type https://line6.com/go into your web browser. Enter your Line 6 account email or username and password and log in. Once logged in, you’ll be prompted to enter the large six-digit code that appears on your current Helix Stadium screen. Once you enter the code on the web page, Stadium’s screen automatically advances to the next step.
-
If you have not yet created a Line 6 account, complete the steps on the web page to create a Line 6 account.
-
-
On the current Helix Stadium Login screen, tap


-
Check for/perform a firmware update: Helix Stadium will check for available updates next. If available, you’ll be prompted to install the update, which is highly recommended. Also, please see the video overview below.
-
Read the Release Notes for the available update, and tap Download Now to proceed.
-
Once the download is complete, tap Update Now to start the update. Helix Stadium performs the full firmware update automatically, displaying its progress. Do Not Power off or change settings on your device until the update completes!
-
-
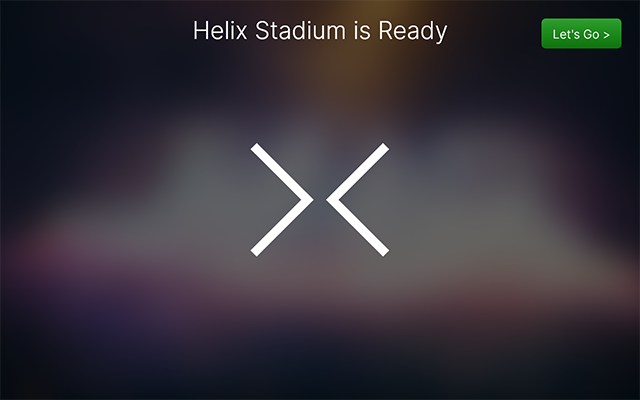
The final screen notifies you once the process is complete and Helix Stadium is ready to use. Tap

Keeping Helix Stadium Updated
If you’ve completed the preceding Concierge steps, you are up to date with any available updates. We strongly recommend keeping Helix Stadium up to date with potential future updates, which you can do via the following steps.
-
Tap the Main Menu button


-
Follow the on-screen prompts to perform the firmware update, as shown in Step 3 of the preceding section.
Glossary
📖 While reading through these pages, you may encounter some unfamiliar audio or guitar-nerd terms. Therefore, we’ve provided the following Glossary for your reference.
Click to Expand - Glossary of Helix Stadium Terminology...
|
Term |
Definition |
|---|---|
|
Block |
Blocks are objects that represent various elements of a preset, such as amps, preamps, cabs, effects, splits, merges, loopers, inputs, outputs, and more. |
|
Command |
On Helix Stadium, a Command is a control message that can be sent or received to access internal functions or functions in external gear. For example, Stadium’s Command Center screen lets you configure any footswitch or expression pedal to send MIDI CC or other messages to control external gear. It can also be used to assign select Stadium functions to Stomp A or Stomp B mode switches. |
|
Controller |
A Controller is used to adjust a parameter in real time. For example, an expression pedal can control a wah, an incoming MIDI CC message can adjust reverb depth, or the XY controller screen can be used to tweak multiple parameters by sliding your finger across the touchscreen. |
|
Cue |
As an alternative to immediately loading a preset, Stadium’s Preset List screen lets you Cue the next preset, which is then loaded with your next press of a preset mode footswitch or the upper right knob. A cued preset is displayed at the top of the screen, below the current preset. |
|
DAW |
DAW is an acronym for “Digital Audio Workstation,” which refers to any digital-based hardware recording setup. This consists of a DAW host (typically, a computer running audio software, such as Steinberg Cubase®, Avid® Pro Tools®, Apple Logic® Pro, etc., a monitoring system (reference speakers or headphones), and an audio interface. Helix Stadium devices function as USB 24-bit 8-In/8-Out audio interfaces, compatible with all major macOS and Windows® audio software. |
|
Focus View |
From the Home View - Edit or Model List screen, select an amp, cab, or effect block and tap |
|
FX Loop |
FX Loops, Sends, and Returns are used to connect additional equipment to Helix for effects loops or to process multiple instruments simultaneously. Helix Stadium has two mono sends and returns and |
|
Home |
The Home view is your primary workspace for creating and editing tones. If you ever get lost, press the Home button Since Helix Stadium does not include scribble strips as found on Stadium XL, pressing the Home button cycles between the Home View’s Edit and Play screens. The Play screen displays the footswitch labels for the current Footswitch Mode. |
|
IR |
IRs (Impulse Responses) are mathematical functions representing the sonic measurements of audio systems (for Helix Stadium, speaker cabinet, and microphone combinations). You can import and use WAV file IRs from numerous dealers. |
|
Matrix Mixer |
The Matrix Mixer lets you set up completely different cue/monitor mixes for the 1/4", XLR, or Phones outputs. Press the lit Main 1/4” |
|
Model |
Each processing block can accommodate one model (or, in the case of Cab blocks, two models). Helix Stadium features over 150 guitar and bass amps, more than 60 cabs, and over 260 effects models, as listed on the Helix Stadium product page. From the Home View - Edit screen, tap the model name to open the Model List. |
|
Nexus |
Nexus™ enables Helix Stadium to connect to optional external Line 6 peripherals, expanding its audio and/or controller I/O capabilities using a single Cat 6 cable. Please check the Helix Stadium product page for upcoming release dates and availability of Nexus peripherals. |
|
Path |
A path represents the signal flow of your tone. Helix Stadium has two separate main paths, Path 1 and Path 2, each with its own inputs and outputs. Paths can be serial (single) or split into one or more parallel (dual) paths. Path 1 can be routed into Path 2 for more sophisticated tones. In Stadium, all paths are stereo, so you can add either mono or stereo blocks to build your tone. |
|
Preset |
A preset is your tone. It consists of all blocks on the Home screen, snapshots, stomp switch assignments, controller assignments, Command Center commands, preset info text, a preset audio clip, and more. A number of factory presets are already included within the FACTORY PRESETS folder to get you started, and you can create and save your own presets to build a full library of tones within the USER PRESETS folder. |
|
Setlist |
A setlist is a folder containing a collection of preset “shortcuts” that point to saved preset files stored within the USER PRESETS folder. Setlists let you organize specific presets for a particular show or session. Helix Stadium can store up to 122 setlists, each containing up to 128 presets in any order. To view setlists, press the Home button |
|
Snapshot |
A snapshot can be thought of as a preset within a preset. Each preset includes up to eight snapshots, each of which you can customize to instantly recall numerous settings—enable/bypass blocks, adjust parameters, send MIDI commands, and more—all with the press of a single switch. |
|
Stomp |
Helix Stadium, along with earlier Line 6 devices, includes a Stomp mode for footswitches, or may refer to an individual effect or command accessed by a footswitch as a Stomp. This term harkens back to the guitarist’s vernacular of referring to effect pedals as “stompboxes.” We use the term Stomp when referring to the use of footswitch-controlled effects or control commands. |
|
Template |
Much like software applications that allow you to choose from a selection of styled Templates when creating a new document, Helix Stadium offers a set of preset Templates that you can select from for your tone creation. You can also save any of your own custom-created presets as Templates and use them as starting points for creating other presets. |