Clones are stored as files within Helix Stadium’s internal memory. Like IR files, clone files can be selected, auditioned, and managed from their own browser via the Model List, as covered in the sections below.
Selecting Clones
The steps for selecting a clone file for your preset are similar to selecting a Cab IR file via the Model List, as described below.
-
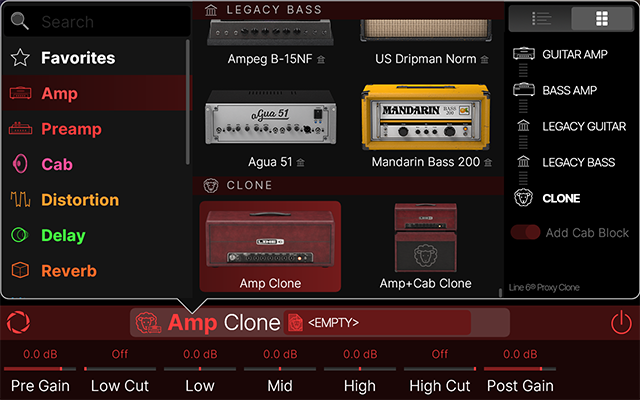
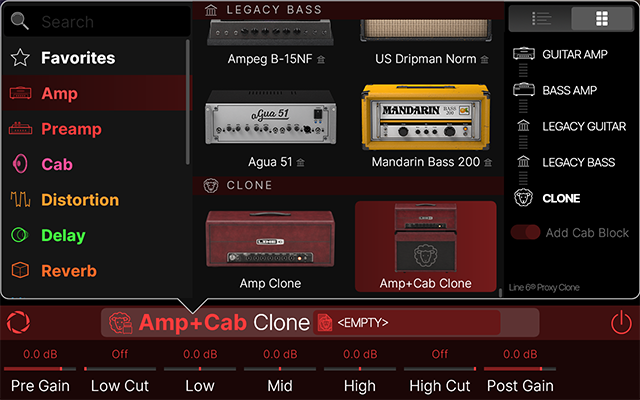
In the Home > Edit screen of your preset, tap on an empty block location in the signal flow and choose the category type in the Inspector for the desired clone:
-
For an Amp or Amp+Cab type clone, tap the
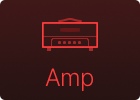
-
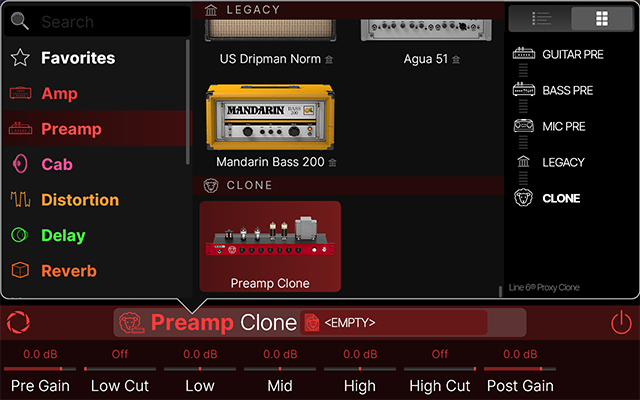
For a Preamp type clone, tap the
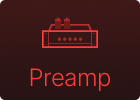
-
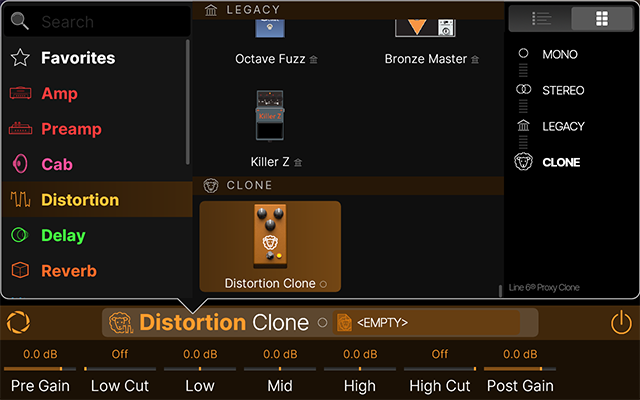
For a Distortion type clone, tap the

-
*Tip: When adding an Amp type clone to your preset, you’ll likely want to manually add a Cab block after it within the path. Unlike with Amp models, when the Amp clone type is selected, the Add Cab Block sidebar option is not available (since we can’t magically determine an optimal “matched” Cab model for your Amp clone).
Then tap ![]()
-
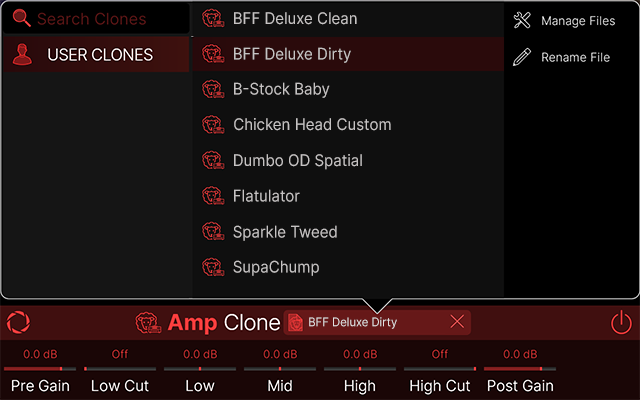
Once you’ve selected the clone type, tap in the “<EMPTY>” Clone selector box

-
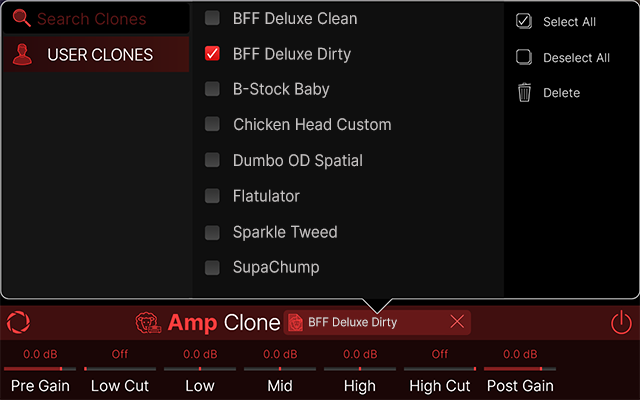
All USER CLONES you created are listed alphabetically in the right column.
-
Tap any clone file once to load and audition it, while keeping its list open for further browsing. (Or, tap a clone file twice to load it and return to the Home - Edit screen.) The clone’s parameters appear in the Inspector, which you can adjust while auditioning. See Clone Parameters below.
-
Tap the top header of the Inspector to return to the Home View. You can now edit, move, and create controller and snapshot assignments for the clone, much like any block.
-
To clear the clone file from the clone block, tap the small X icon at the right of the Clone Selector box

Managing Clones
Within the Model List - Clone File Browser, use the sidebar options to rename your clones or delete them from the browser list.
Tip: You can also use the Helix Stadium app’s Librarian View to manage your clones, as well as export and import them to/from your computer.
Renaming a Clone File
Select any clone file within the USER CLONES folder and tap the ![]()
Managing Clone Files
Tap ![]()
-
Select All: “Checks” all clone files in the list.
-
Deselect All: “Unchecks” all checked clone files in the list.
-
Delete: Permanently clears the selected clones from Helix Stadium.†
†Important! Deleting a clone file from the Clone Library that is used within any saved preset will result in the preset’s respective Amp/Preamp/Distortion block changing to “unknown” ![]()
It’s a great idea to perform a backup before you start deleting your clones—all your user clones are included when Creating a Backup to your microSD card! You can also use the Helix Stadium application’s Clones Librarian to export clone files and create an unlimited library on your computer for backup and sharing.
Clone Parameters
Once a clone file is selected for a Clone block, its parameters are available within the Inspector. All clone types offer the same set of parameters, with all set “flat” as the initial default, as described below.

Tip: These clone parameters are also available for previewing within the clone creation Compare screen. Please see the Compare step on the previous Clones page.
|
Parameter |
Description |
|---|---|
|
Pre Gain |
Adjusts the amount of gain fed into the clone. Reduce the level for cleaner tones, or increase to drive the amp/preamp/distortion clone for increased saturation and distortion. |
|
Low Cut |
A High Pass Filter to reduce the level of all frequencies below the selected cutoff value. |
|
Low Mid High |
Adjusts the bass, midrange, and treble, respectively. |
|
High Cut |
A Low Pass Filter to reduce the level of all frequencies above the selected cutoff value. |
|
Post Gain |
Adjusts the output level. Use this to adjust the clone's overall level without affecting its tone. |
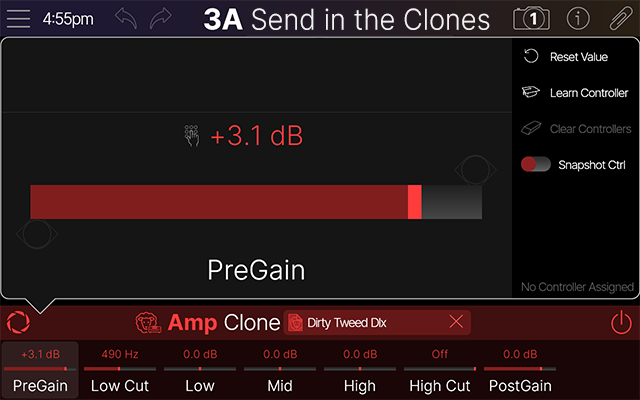
Parameter Panel
Just as with Amp, Cab, and Effect parameters, tap on any Inspector Clone parameter to open its Parameter Panel, where you can use its large slider for adjustment, assign a controller, or enable snapshot control. Please see the Creating and Editing Tones > Parameter Panel section for additional details.